Let us have a moment of silence in the name of buttercream frosting.
It is the fluffiest, most decadent, and most forgiving cake topping I have ever run across. And by forgiving I mean: stick it in the freezer for 6 months, haul it out, mix the hell out of it, add any color or flavor you can think of, and it complies. Willingly. Happily. There is no overmixing this stuff.
Buttercream frosting and good dogs possess a level of charity to which we mere humans can only aspire.
Now, I warn you. When we get going on the actual process of making the buttercream, you're going to hate me. And you're going to think I'm insane for ever singing such praises. But just wait.
One note: it's pretty crucial you have a stand mixer for this particular project. Try and use a hand mixer, and both your arm and the machine will be pretty much useless forever.
Two note: we're making about four times as much as we actually need for this project. I took the advice from the writer at Brave Tart (from whence my recipe cometh) and went ahead and made enough to store for future use. The process is pretty involved, so you might as well make as much as possible at one time.


Tune in next time for: Blue White Chocolate Ganache
All photos by Michelle Chasser/Brainchild Theories
It is the fluffiest, most decadent, and most forgiving cake topping I have ever run across. And by forgiving I mean: stick it in the freezer for 6 months, haul it out, mix the hell out of it, add any color or flavor you can think of, and it complies. Willingly. Happily. There is no overmixing this stuff.
Buttercream frosting and good dogs possess a level of charity to which we mere humans can only aspire.
Now, I warn you. When we get going on the actual process of making the buttercream, you're going to hate me. And you're going to think I'm insane for ever singing such praises. But just wait.
One note: it's pretty crucial you have a stand mixer for this particular project. Try and use a hand mixer, and both your arm and the machine will be pretty much useless forever.
Two note: we're making about four times as much as we actually need for this project. I took the advice from the writer at Brave Tart (from whence my recipe cometh) and went ahead and made enough to store for future use. The process is pretty involved, so you might as well make as much as possible at one time.
Vanilla Buttercream, dyed blue for the filling of
my K-shaped Basic White Cake
Recipe and method taken from the Swiss Buttercream recipe at Brave Tart


Ingredients:
10 oz egg whites
10 oz sugar
1/2 tsp salt
2 pounds (yes, that's 8 sticks) room temperature butter, cut into 2" chunks
vanilla extract, to taste
Go ahead and measure ingredients. That's the 10 oz of sugar, which I will set aside.
Use pickle claw, if necessary.

Don't throw out that sugar just because it got all rock-hard! Just make your Viking face and mash that $#!& up!

Measure 10 oz of egg whites into metal or glass bowl (this will be the top of your double boiler. Unless you actually HAVE a double boiler, in which case use that. And la-tee-dah for you.)

I haven't had luck, in the past, using egg whites from a carton for things like meringue, macarons, etc. So I didn't use it exclusively here. But I did top off my "true" egg whites when my ounceage came up a tad short.
Oh, egg white carton. It's like you read my mind.

Add sugar and salt to egg whites and place bowl over steaming water. The water doesn't have to be very deep, nor does it have to be actually simmering. It just needs to produce steam, as this is what cooks the egg.
A candy thermometer is pretty vital here.
Stir frequently, though not constantly, with a wire whip, to keep what Stella at Brave Tart calls "egg white omlette" from forming on the bottom of the bowl.

The temp you're aiming for is between 145º and 150ºF, as this is the "cooked" temperature for the egg mixture. By "cooked," I of course mean "free of intestine-trashing bacteria."
Heeeeyy, Salmonella.

Once egg white has reached desired temperature, remove from heat and transfer to the bowl of the stand mixer. The required tools here are...negotiable...
::don't you wish your half-spatula-burned-oven-mitt was hot like mine...::

Whip on medium speed until the mixture is white and doubled in size.

The mixing here serves two purposes: to whip the egg white and to cool the egg white. Periodically feel the bowl to test the temperature. You want the bowl to feel perfectly cool to the touch, with no trace of heat. This is muy importante, because what happens to butter if you get it too hot too fast?
Butter lava. Ain't nobody like no butter lava.

Mixture ready?
No.

Mixture ready?
Yes!

Time for butt-TAHHHHH!!!
I love butter. Butter, butter, butter. Here it goes down. Down into my belly.
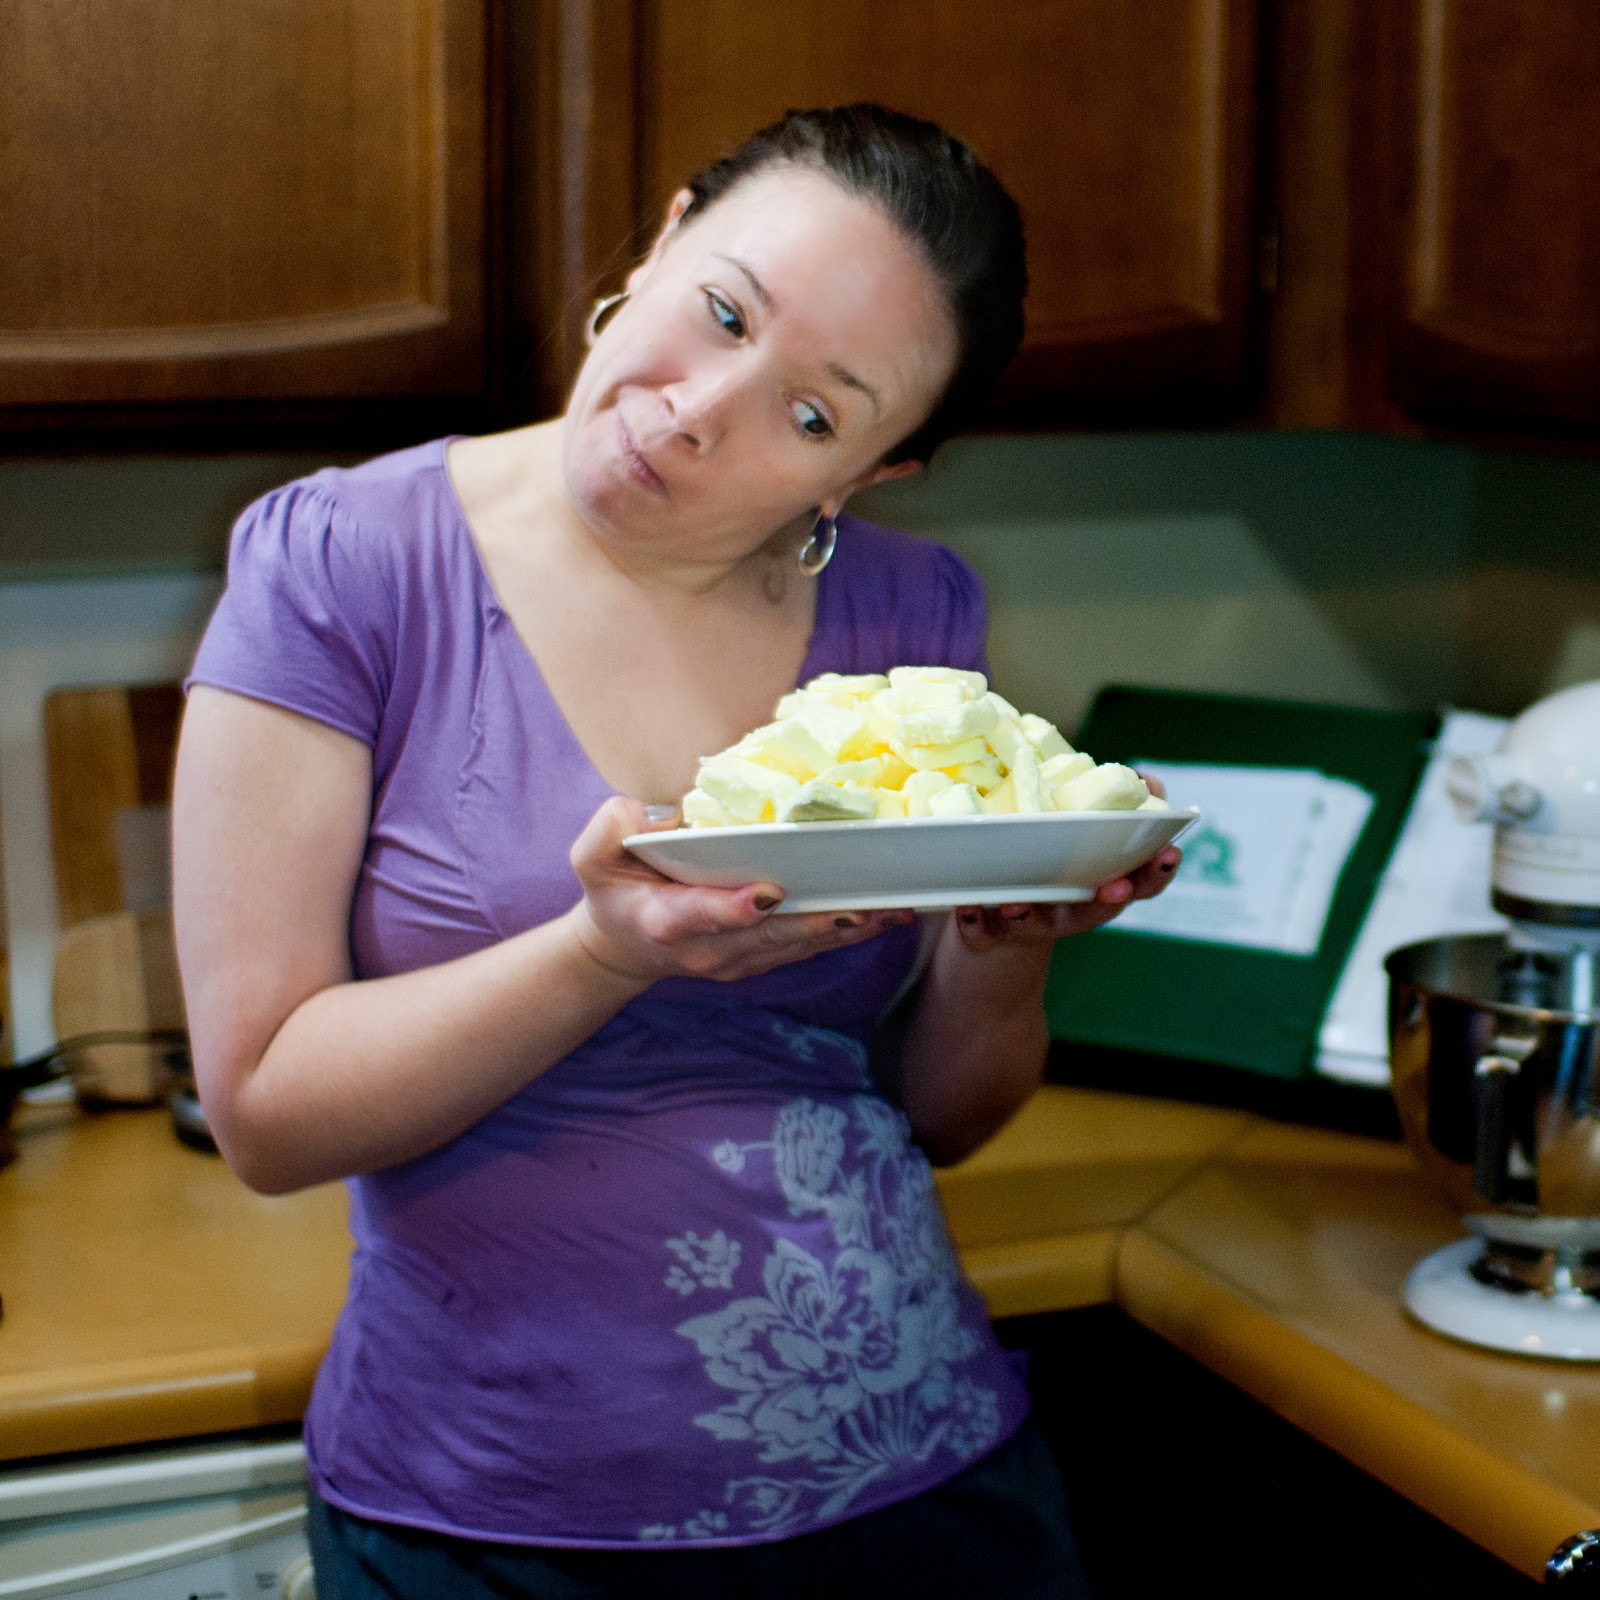
Holy smokes, that's a lot of butter. And yes, you must add it one piece at a time.

Ok, at this point, if you've really boogered your project and started adding the butter before the egg white was sufficiently cool, you'll notice the dreaded melted butter lava beginning to form. And all appears lost. Well...it might be. But it might not. Try cranking up the speed on the mixer and just letting the thing run for awhile. I've had luck with this panic method (so named because I figured it out in a panic), as it cools the egg whites at a faster rate and might eventually force the egg whites and butter to mingle.

Add vanilla, to taste. I used 1 tablespoon.

Here is your finished vanilla buttercream. Just look at that fluffy mess.

The chosen colors for this project are light blue frosting on white cake with darker blue ganache. Believe it or not, in order to achieve the exact blue I needed, a teensy bit of burgundy was necessary. The blue is a water based food coloring, which makes the buttercream grumble but which will eventually incorporate, and the burgundy is a gel. Buttercream <3 gel 4eva.

I suck at creative thinking, for the most part, so in effort to save me from myself, I take baby steps. Instead of dumping all the color in and risking scrapping a whole (inexplicably poo-brown or rust-red) batch of frosting, take a little out and mix it to the desired hue.

Once your frosting is the right color, it's time to get going! This is the fun part. Take the room temperature buttercream to your completely cool cake rounds, and start spreadin'. (This is another place I use my scale-because I just hate cutting into a slice of cake and the frosting in between the layers is uneven.)

After I frosted and assembled my 3 round layers, I put the whole shooting match in the freezer so it wouldn't fall apart when I started cutting the pieces into the shapes I needed for my "K."
If you're not making any shapes, finish frosting the outside of the cake, and you're done!

So far, so good...but how will she STAND???
(Skewered by chopsticks and slathered with unseen extra frosting, that's how.)

Taa-daa!
Author's confession: this thing stood for maaaaaybe 5 minutes before dumping itself headlong onto that very white backdrop.
But still: taa freaking daa!
Tune in next time for: Blue White Chocolate Ganache
All photos by Michelle Chasser/Brainchild Theories
2 comments:
I'm so, so glad you're diggin' the buttercream AND that you're making batches to stash away for future cake emergencies. Wanted to let you know that you can eliminate one dirty dish: I always use my kitchen aid bowl with the water bath. Your way is probably faster, since you ditch the hot bowl in favor of a cool one. But I am muy lazy. I put that stuff on to whip and go check my email. ;)
Great advice, thank you! Also thanks for checking out my blog, and being so generous with your own wealth of info! I hope I gave you plenty of credit on this one :D
Post a Comment